Add to Sourcetree
How to setup version control on a Gitlab project with MacOS app Sourcetree.
Manage a project/repository hosted by GitLab on a local workstation with Sourcetree version control app for MacOS. This demo is for a Docusaurus website like the one you are viewing right now.
PREREQUISITES
- Familiarity with Git processes for code management and version control
- SSH access up and running
- A GitLab project cloned to a MacOS system
STEPS
STEP 1: In Sourcetree, open the Repository Browser, if it is not already open.
Open it under Window > Show Repository Browser, or press CMD + 0 (⌘+0).
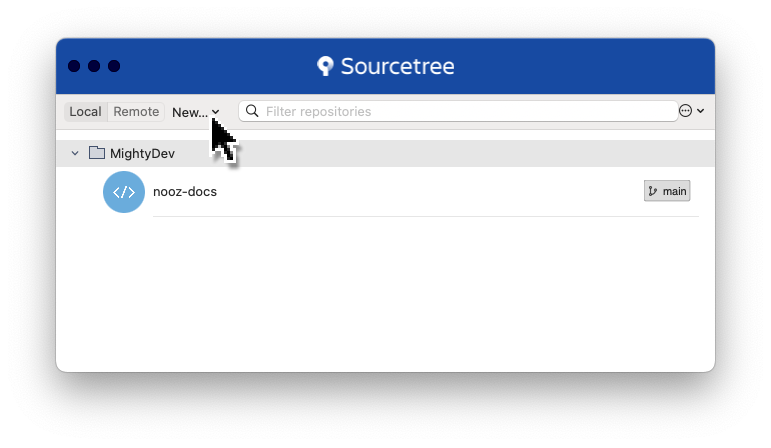
STEP 2: If you have an existing project group, select it to highlight. In this case the group is MightyDev.
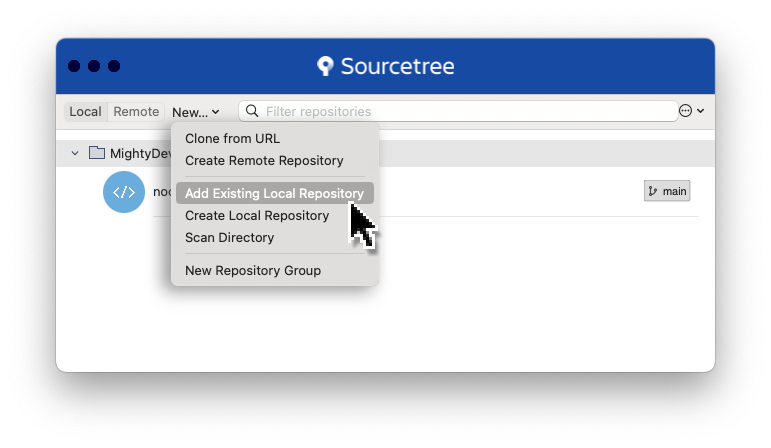
Click New..., and in the drop down menu select Add Existing Local Repository
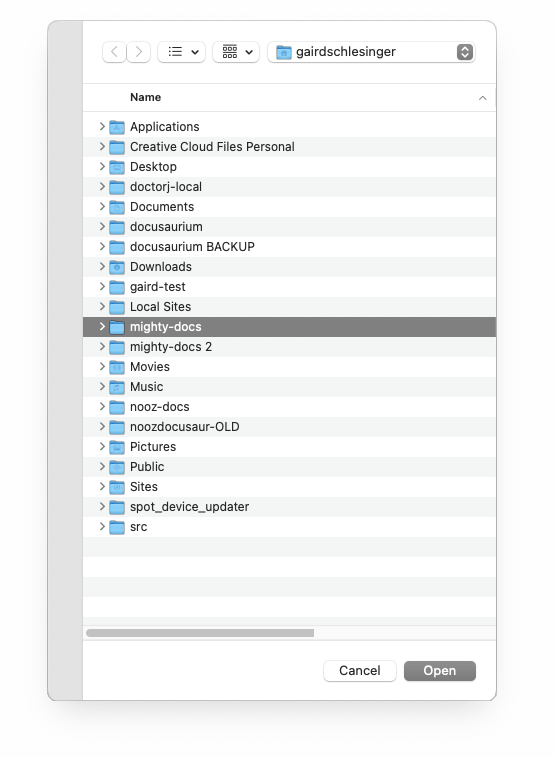
STEP 3: In the Finder window that pops up, navigate to the folder with your project files. The default location is in your user home folder.
Click the folder to select and then click the Open button.
RESULTS
You should see the project added to the Repository window.
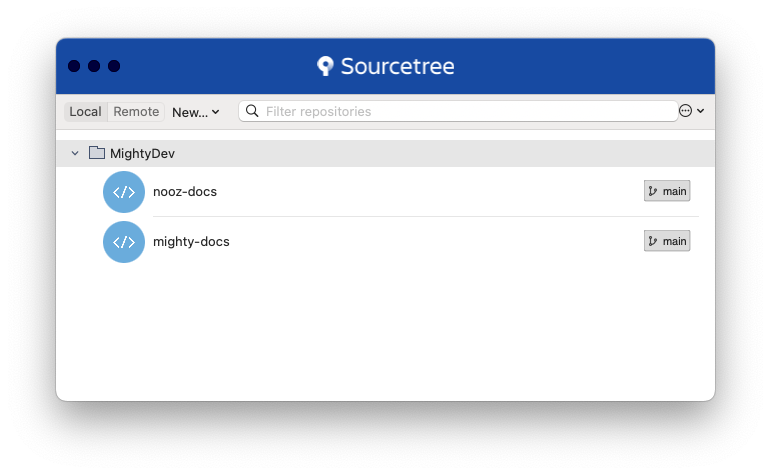
STEP 4: Double-click on your new item to open the Sourcetree project window.
Use Sourcetree to Commit changes, Push (check-in), Pull (check-out) and otherwise manage project source code.
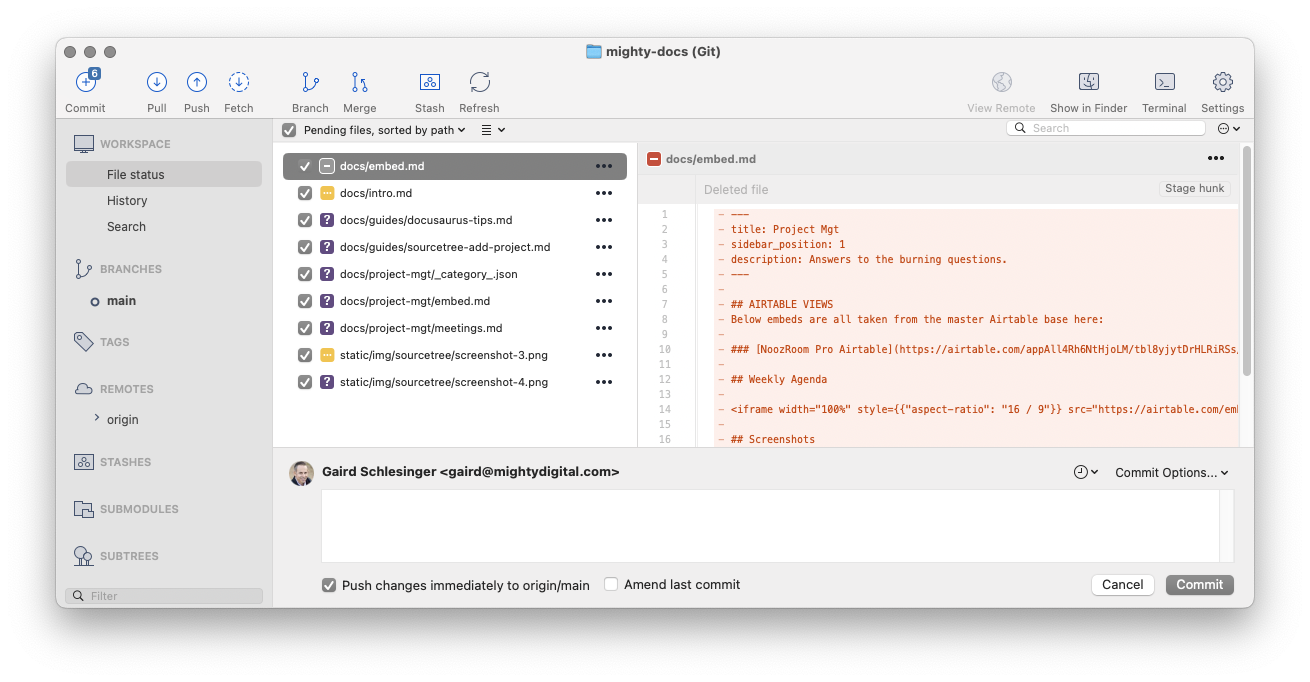
Sourcetree is for code management and version control, which is separate from editing.
Editing the source files will be done in a preferred editor such as Bbedit or Visual Studio.