ZIP folders without hidden files
How To ZIP folders without hidden MacOS files
Avoid getting hidden MacOS files in your ZIP archives. This note is summarized from this StackExchange article.
BACKGROUND
Using the built-in MacOS ZIP compression utility in the Finder may include hidden files that show up when unzipped on other platforms.
By using the Terminal App on MacOS to compress a directory, you can omit the hidden files like .DS_Store and __MACOSX
This is a Command Line Interface (CLI) method that requires some familiarity with the Terminal App.
USE CASE
Let's say you have a directory with files that you want to compress into a ZIP archive and make it available to someone else.
If that user is on a Windows or Linux operating system, they may see some extra files when they unZIP the archive, which are hidden on MacOS but can show up on different operating systems. Use this technique to omit hidden MacOS files when you compress a directory.
An example use case may be a publicly downloaded ZIP file hosted on a website, and you want to be as compatible as possible with other desktop operating systems.
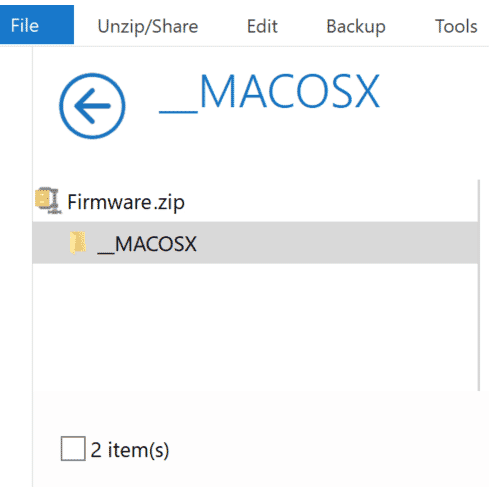
How a hidden MacOS file appears inside a ZIP file on Windows
COMPRESS FILES USING TERMINAL
Let's say you have a folder on your desktop called “Folder” with stuff you want to compress into a ZIP archive and send to someone else. (This is for example, your folder name will be different) Open the Terminal app on MacOS and write following two commands:
- Navigate into the directory named “Folder” in Terminal, or use the Finder shortcut tip below.
cd Desktop/Folder
TIP: Open Terminal directly from the folder you are in.
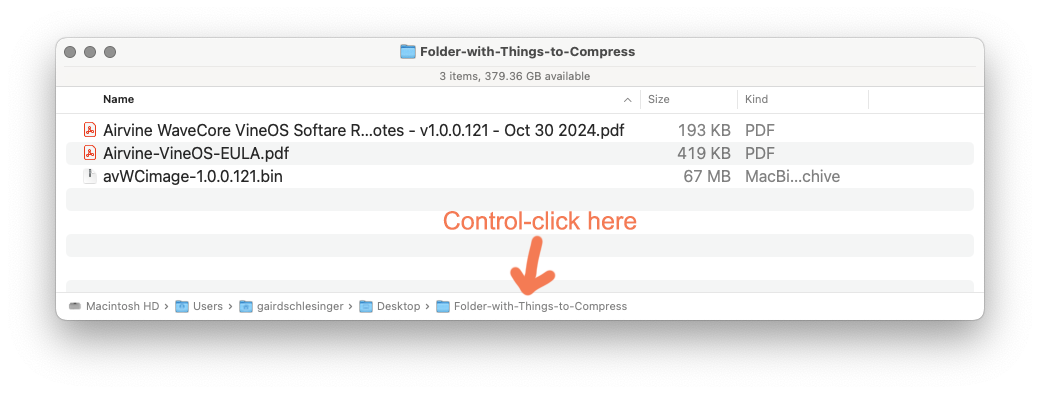
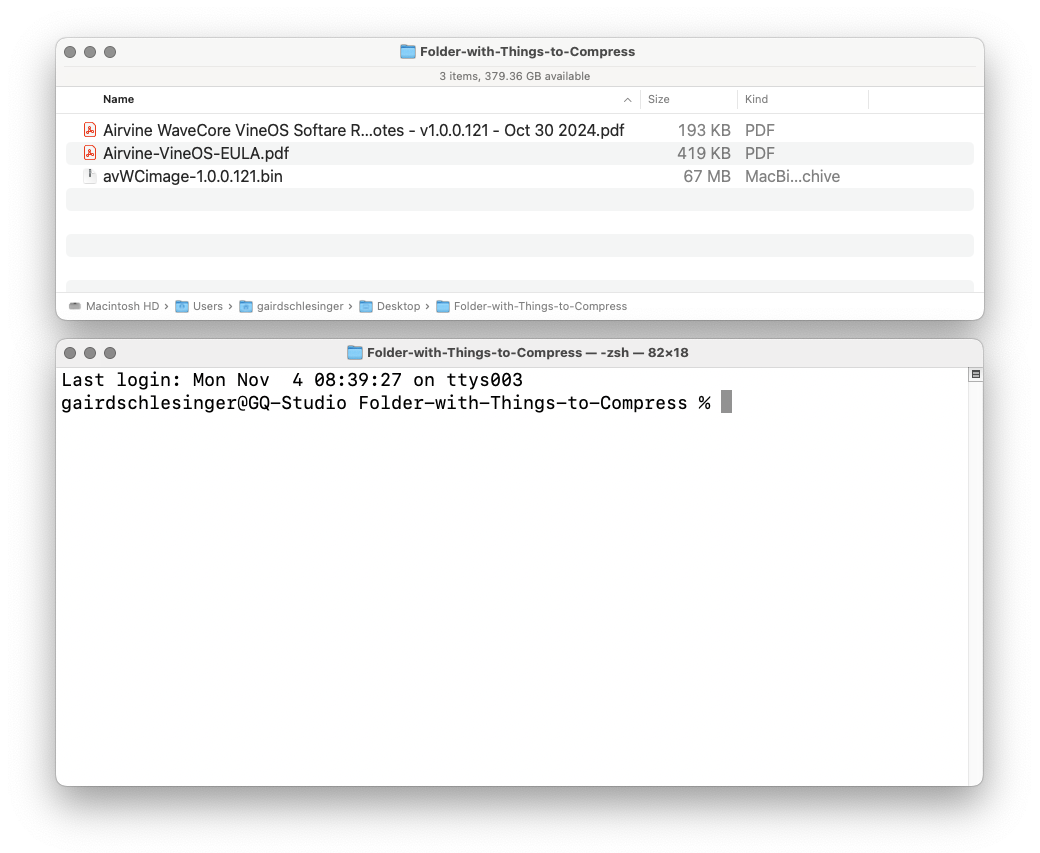
You can skip navigating from your home folder with this shortcut. In Finder, navigate to the folder with the files you want to compress. Use the path view at the bottom of the finder window. (You may have to turn it on under View > Show Path Bar. Control click on the folder icon at the end of the path view and in the context menu, Open Terminal Window. See screenshots below.

- Compress the contents of the folder and omit the hidden files
zip -r dir.zip . -x '.*' -x '__MACOSX'
You can insert whatever file name you wish for your ZIP archive in the second command (replace “dir.zip” with “your-file-name.zip”. Alternatively, you can use a short name temporarily and then rename the ZIP file in the Finder.
Type ‘exit’ at the command prompt to quit Terminal (or type Command + Q)
Now you should have a ZIP file named “dir.zip” without __MACOSX or .DS_Store files in the archive.